If you are interested but scared to make something that is fermented, it’s not as hard as it seems. As long as you prepare it right, the good bacteria will do the rest! Making sure the area is clean, and working with clean utensils is the biggest part. It does take 1-3 days to ferment and checking it daily is a must too. Trust me, you will know when it’s done. The taste of homemade kimchi is so good, spicy and flavorful.
I have looked at a bunch of recipes and they all used napa cabbage. I just used regular head cabbage (organic of course) from the local farmer’s market and it came out great! In this recipe, it specified to peel the radishes but I don’t think that’s necessary.
Let me know if you guys used red cabbage or any other ingredients that made it come out awesome!
There are four steps you’ll follow. First, you’ll prepare the cabbage and get it soaking in a salt mixture to begin to break it down. While that is happening, step two is to prepare the other vegetables and the yummy seasonings. Then, in step 3 you’ll put everything together and get it set up to ferment. In the final step, you’ll monitor the fermentation process over the course of three days until this delicious dish is ready to eat!
Kimchi
Ingredients
- 1 Head Cabbage
- 1/4 Cup Salt pink Himalayan salt is great, regular table salt with iodine will interfere with the fermentation.
- 1 Bunch Radishes any kind works
- 4-5 Green Onions
- 1 Big Carrot optional I’ve done it and it’s delicious!
For The Seasoning Paste…
- 1 Tbsp Fresh Ginger Peeled, Chopped
- 5-6 Big Garlic Cloves If small double it
- 4 Tbsp Water
- 2-3 Tsp Cayenne pepper Ground
- 1 Tsp White Sugar not a sugar substitute Bacteria needs this to feed on!
Instructions
Step 1: Cabbage Preparation
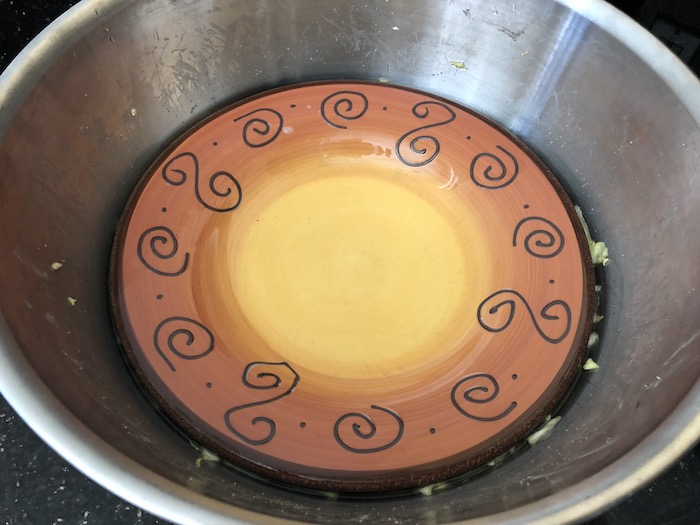
- You will cut the cabbage to a thickness of your liking. I like strips similar to what you prepare for coleslaw. Place the cabbage in a large bowl, then add salt and mix well, making sure to really work that salt in, until the cabbage starts to appear slightly wilted (about 5-10 minutes.) After that, add enough water to cover the cabbage. Use a plate to press the cabbage down under water and have it soak for about 1-2 hours then after, rinse the cabbage really well and then rinse it again and once you think you’ve rinsed it well than do it again one last time.
Step 2: Other Vegetables and Seasonings
- I have diced up radishes every way there is and I suggest do what’s easiest because it all ferments the same. You do not need to peel radishes, I’ve done it many times now and it’s delicious so save yourself the trouble. Chop green onions up and the radishes and set aside. If you do carrots in this recipe use a grater to shred them up. I wouldn’t buy already shredded carrots but I have not tried it so if you do, let me know how that works. I also know using organic veggies is the best and you will only get the best bacteria from using fresh organic product.
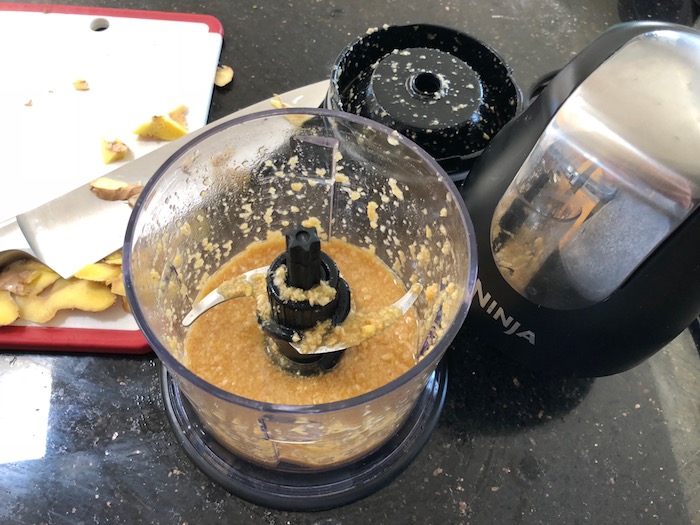
- In a blender mix the garlic, ginger, water, pepper and sugar until it forms a paste. You can also chop this up too, I’ve done it by mistake and it still worked out great! I have also forgotten the sugar once and I wondered why it wasn’t bubbling up by the next day and realized it, I added the sugar a day later it still came out great! As long as you are using good quality ingredients you will have a hard time messing this up.
Step 3: Get Ready to Ferment!
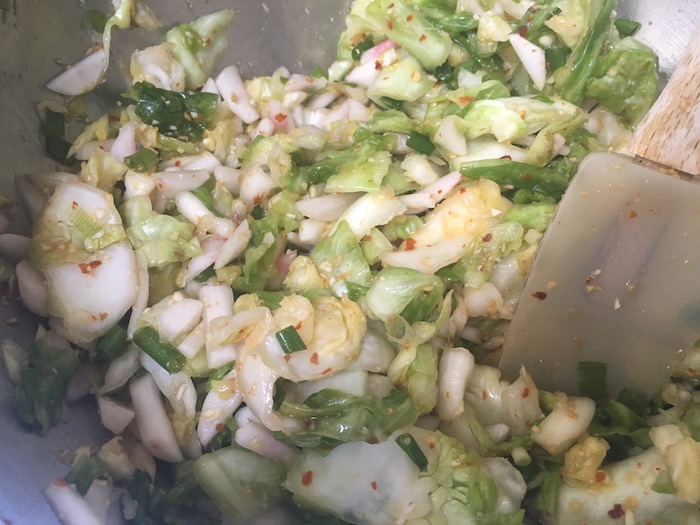
- At this point your cabbage should be looking nice and soft, and you’ve got all the other tasty ingredients ready, so it’s time to put it all together and transfer into mason jars to ferment!
- Mix up with a utensil or use gloves! This stuff is powerful and will be hard on bare hands.
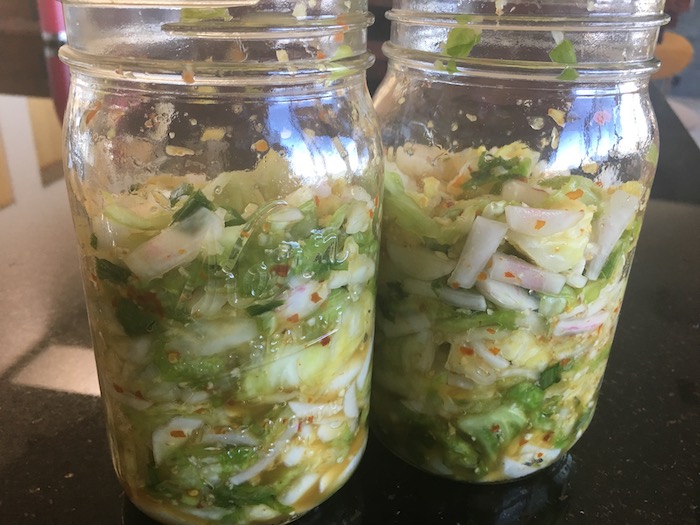
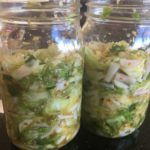
- Transfer the mixture to mason jars. These are the perfect size and shape to allow the fermentation process to get enough oxygen but not too much. For the first day I use something heavy to weigh down the cabbage to help release the juices. Use big glass jars with a big opening so that you can get all the mix in easy and when comes time to push it down with a spoon it’s easy to do so.
- Leave the jars open, but cover the mouths with a clean dish cloth. Place them in a dark cool spot in your kitchen (not the fridge, that’s way too cooled!), when it’s done after three days then you can store it in the fridge.
Step 4: Monitor the Fermentation
- Once or twice a day, check in on your work… You should see bubbles forming and the mixture will tend to rise out of the liquid. Still gently and press the solids back down so that they are covered by liquid.
- Also the best way to know you’re doing it right is by the way it smells and when you check back spoon ready and push down there will be a ton of bubbles that come to the surface and it will smell wonderfully delicious almost like something is cooking, it will make you hungry.
- After three days, you’ll notice it smells and tastes like a spicy and crispy relish that goes great on top of salads, burgers, hotdogs or just on it’s own like a slaw. Try it out and let me know what other uses you find for this super nutritious addition to your keto diet!